How Tin Boxes Are Made: The Full Process, Step by Step
A decorative tin looks simple, but a finished box is the result of eight distinct manufacturing stages, each dependent on the last. This guide explains how tin boxes are made, in order, from a flat drawing to a packed, food-ready product.
Every step below happens under one roof at our İstanbul plant, which has run as a tin box manufacturer since 1979. Keeping design, tooling, printing and forming in-house is what lets a single supplier hold registration, colour and fit consistent across a run.
1. Design and dieline
Every tin begins as a three-dimensional shape unfolded into a flat template called a dieline (or knife line). This template maps exactly where the metal will be cut, where it will fold or draw, and where the seams and flanges fall.
Artwork is then built directly onto the dieline so that logos, panels and text land in the right place once the flat sheet is formed into a body and lid. Getting this right on screen is far cheaper than discovering a misaligned seam after tooling. This planning stage is where most custom tin boxes are won or lost.
Why the dieline matters
Metal does not stretch like paper. A design that ignores draw depth or corner radii can distort artwork, thin the metal, or crack it during forming. A correct dieline accounts for material behaviour before a single sheet is printed.
2. Tooling and dies
Once the shape is fixed, hardened steel cutting and forming dies are machined for that specific box. These dies stamp, draw and trim the metal to precise dimensions, and they are the reason custom tins carry a minimum order quantity.
Tooling is a one-time cost. Making a bespoke die is a significant investment, so it is spread across the whole production run. That is why custom projects here typically sit between 5,000 and 25,000 pieces per design: below that, the per-unit tooling share becomes uneconomical; above it, the cost per tin keeps falling. Stock shapes that reuse existing dies avoid this charge entirely.
3. Offset printing on the flat sheet
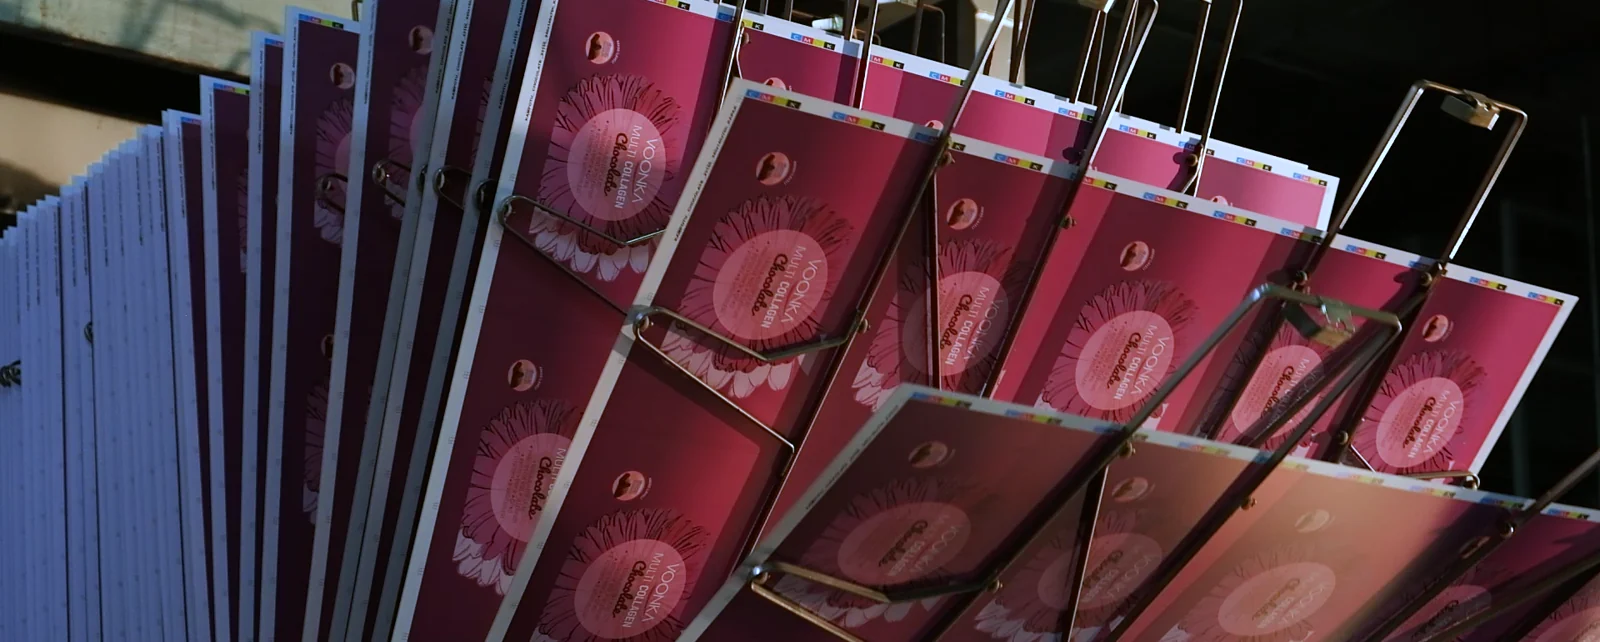
Here is the detail that surprises most buyers: tin boxes are printed flat, before they are formed. Large tinplate sheets pass through an offset (lithographic) press that lays down the artwork, followed by a protective varnish. Printing on a flat sheet gives sharp registration and even ink coverage that would be impossible to achieve on an already-shaped, curved body.
Presses handle full-colour process work plus spot Pantone matching, and finishes such as metallic inks and matte or gloss varnishes are applied at this stage. The breadth of print and finish options is covered under our in-house capabilities.
Food-safe interior lacquer
The side of the sheet that will become the inside of the tin receives a food-grade lacquer, applied before forming so the entire contact surface is coated. After printing and coating, sheets are cured in ovens so the inks and lacquers harden fully. As general industry context, food-contact materials in the EU fall under Regulation (EC) 1935/2004, and modern lines increasingly use BPA-free (BPA-NI) coatings.
4. Cutting and blanking
Cured printed sheets are cut into individual flat pieces called blanks. To reduce waste, irregular shapes are often scroll-cut, a wavy nesting pattern that lets more blanks come from each sheet than straight rectangular cutting would allow. Efficient nesting directly lowers material cost per tin.
5. Forming, stamping and pressing
The flat blanks now become three-dimensional. Mechanical presses draw, fold or roll each blank into a body using the dedicated dies. There are two broad routes, and the choice shapes both cost and appearance:
- Deep-drawn (seamless): a press draws a single blank into a one-piece body with no side seam. This gives clean, continuous walls and is common for round tins, but it needs more forming force and specific tooling.
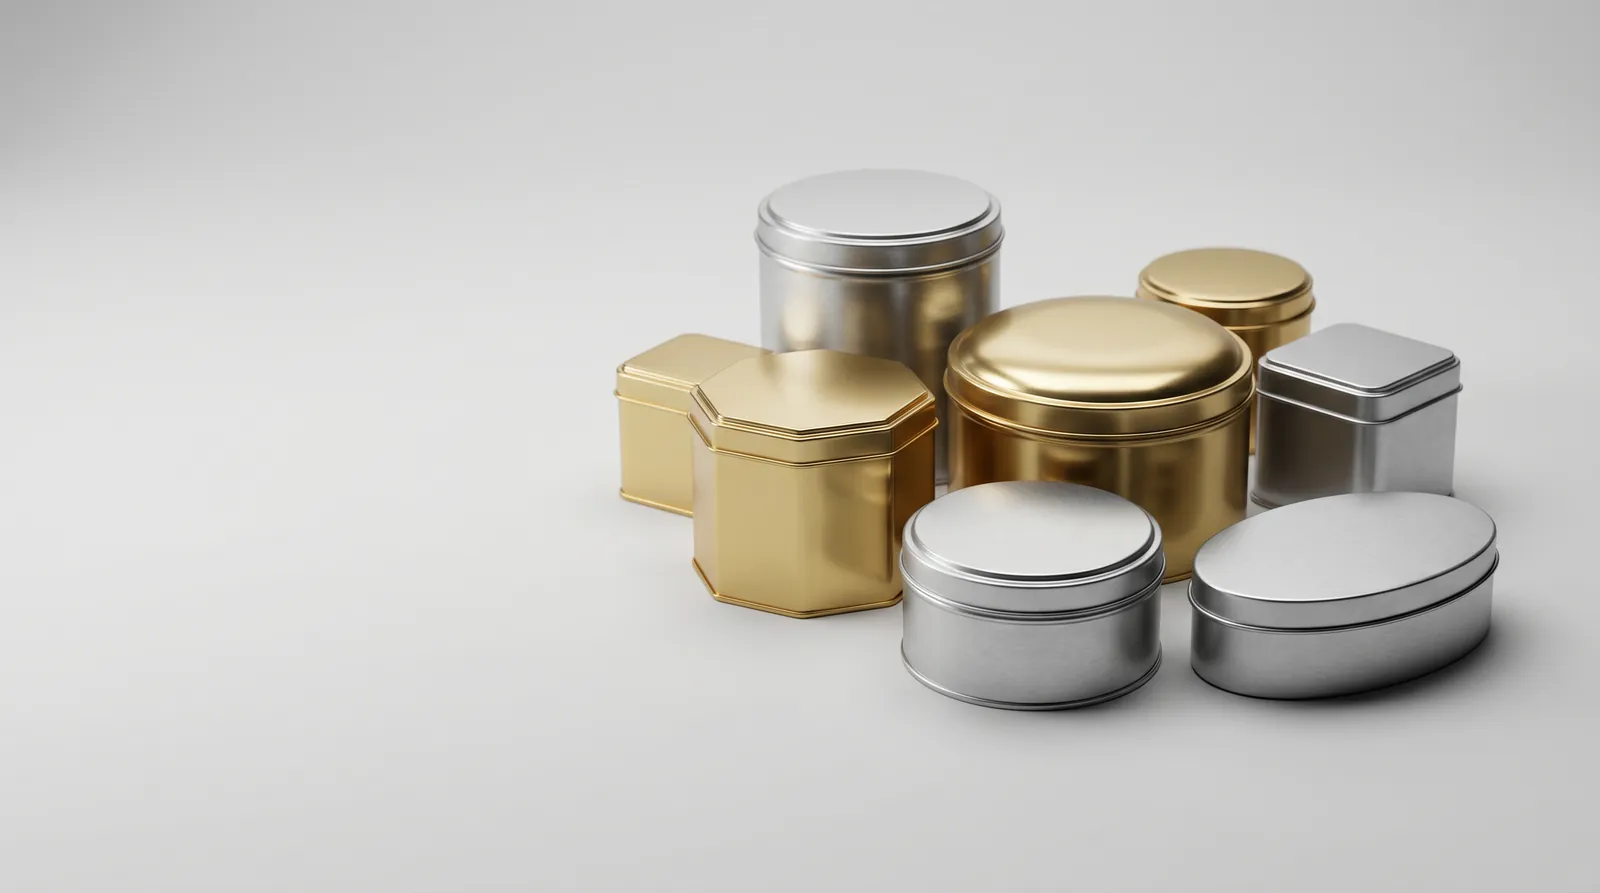
- Seamed bodies: a blank is rolled and joined along a seam. This suits square, rectangular and larger or unusual shapes, and is generally more flexible for complex geometries.
To make thin metal rigid and safe to handle, formed bodies are then flanged (edges turned out to receive a base or lid), curled (raw edges rolled over so no sharp metal is exposed) and sometimes beaded (rings pressed into the wall to resist denting). These small operations are what make a tin feel solid rather than flimsy.
6. Lids and components
Lids are produced in parallel using their own dies, because the closure defines how the tin is used. Common types include:
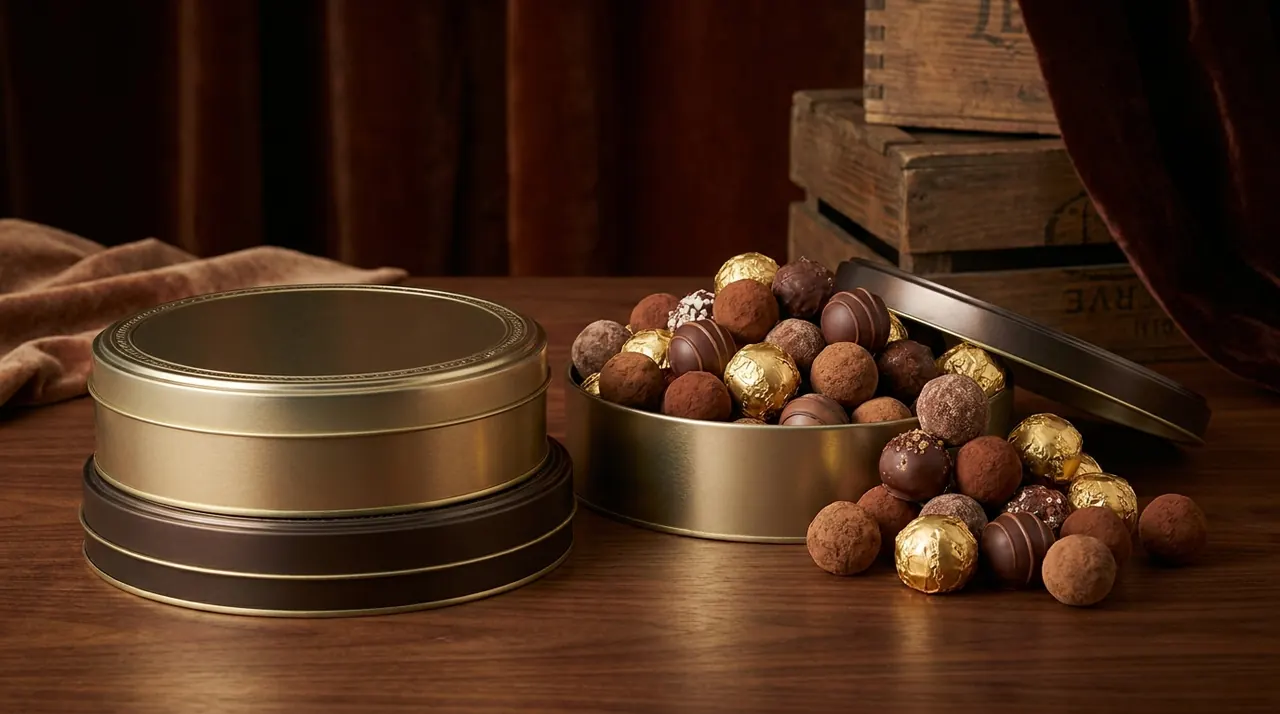
- Slip-on (shoulder) lids that lift straight off, typical for gift and confectionery tins.
- Hinged lids with a formed or fitted hinge for mint and pocket tins.
- Screw lids for a more secure, resealable closure.
- Window or crystal lids where a clear panel is fitted so the contents are visible.
- Domed lids pressed with a raised curve for a premium shelf presence.
Rims, hinges and any window film are prepared here so that assembly is purely a joining operation. If you are weighing closure options, our overview of tin boxes with lids compares the trade-offs.
7. Assembly
Bodies, bases and lids come together on the assembly line. Bases are seamed or fitted to bodies, lids are matched to their bodies, and any extras, such as window panels, inner liners or trays, are fitted at this point. The target throughout is a lid that seats squarely with consistent friction: neither so loose that it falls off, nor so tight that it will not open.
8. Quality control and packing
Before packing, tins are checked against the specification. Typical inspection points include:
- Dimensions against the approved drawing, so lids and bases interchange correctly.
- Print registration and colour matched to the signed-off proof.
- Coating and lacquer coverage, especially on interior food-contact surfaces.
- Lid fit and finish, checking closure feel and that curled edges are clean.
Approved tins are then nested and cartoned for export. This end-to-end control, from dieline to dispatch, is why the process is trusted by brands that ship worldwide, and why a manufacturer that owns every stage can hold a run consistent from the first pallet to the last.
Print-then-form: the core trade-off
The single most important idea in tin making is that decoration comes before shaping. Printing flat guarantees crisp artwork but commits you to tooling and a minimum quantity up front. That is the honest exchange behind every custom tin: higher setup, then a low and falling cost per unit as volume grows. When you are ready to price a specific shape, size and finish, request a quote.
Avete in mente una latta?
Indicateci forma, formato e grafica. Inviamo un preventivo e un campione gratuito, e rispondiamo entro poche ore.
Richiedi un preventivo