How to Design a Custom Tin: A Step-by-Step Guide
A custom tin is part product, part billboard, and part keepsake. Designing one well means thinking about the metal object and the printed surface together, in the right order. This guide walks through how to design a custom tin step by step, from the first size decision to signing off the final proof, so nothing important gets left until it is too late to change.
Step 1: Pick the shape and size first
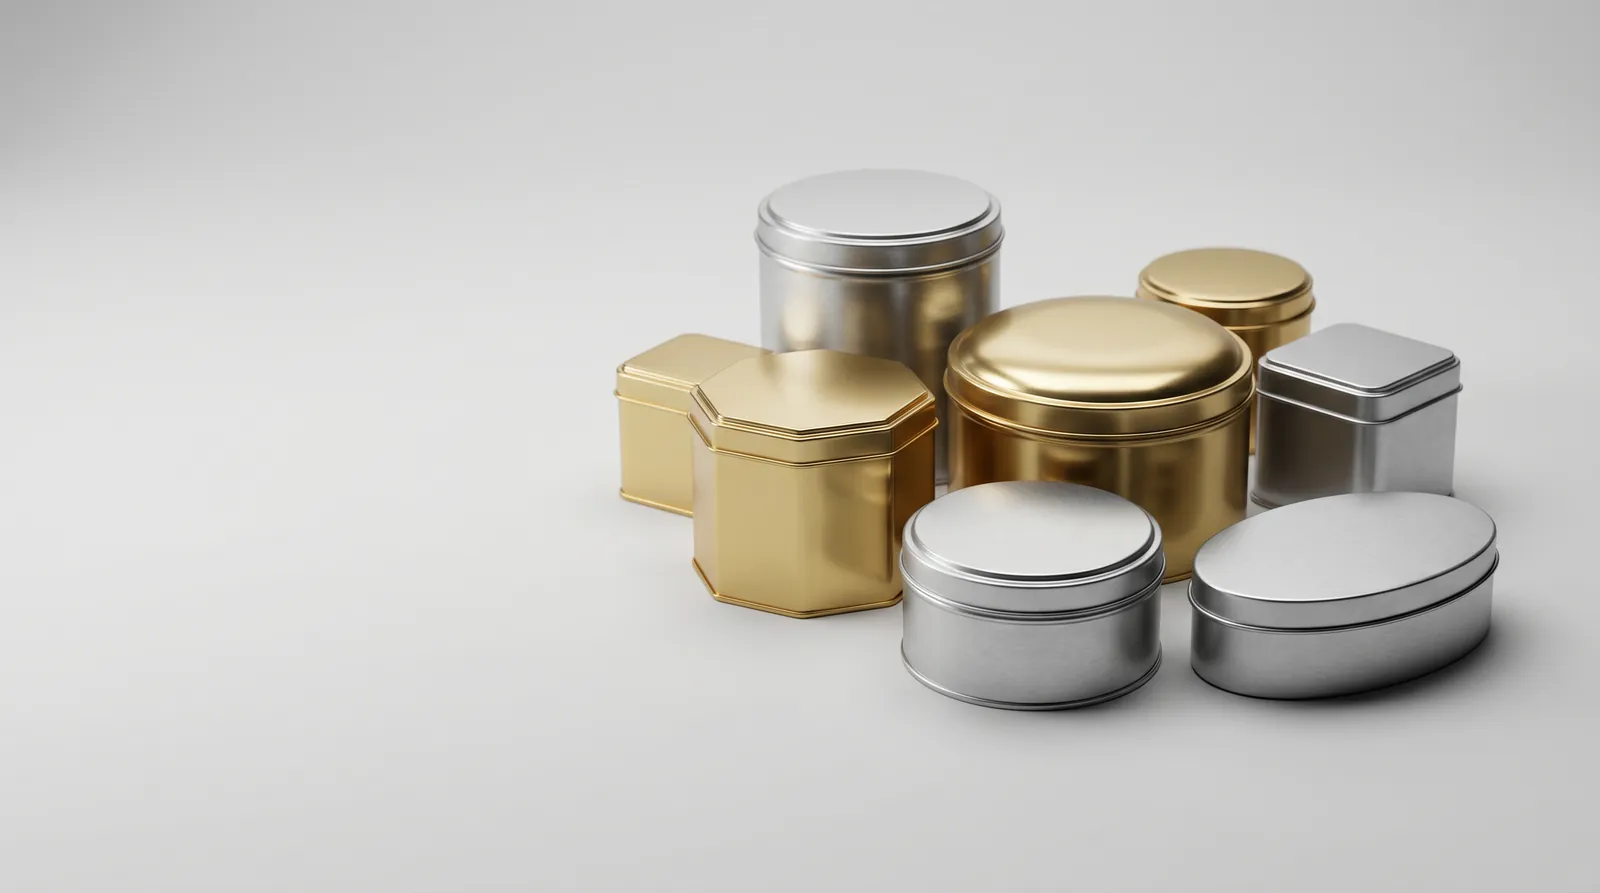
Everything downstream depends on the format, so decide it before you touch the artwork. Start from the product: what has to fit inside, how it sits, and how the tin will be displayed. Round tins suit tea, coffee, and confectionery; square and rectangular tins stack neatly and use shelf space efficiently; shallow shapes present biscuits or chocolates face-up. If a standard size holds your product, using it avoids new tooling and shortens lead time. Browse the range of custom tin boxes to see which existing footprints are close to what you need before committing to a bespoke die.
Confirm three numbers early: the internal volume or piece count you must hold, the external dimensions your retail shelf allows, and the wall depth. These decide how much printable area you actually have.
Step 2: Plan the structure and lid
The lid is a design decision, not an afterthought. It changes how the tin opens, how well it protects the contents, and how premium it feels. Common options include:
- Slip-on lids for gifts, biscuits, and dry goods that do not need a tight seal.
- Hinged lids for repeated opening, such as mints, tea, or desk items.
- Screw lids for a firmer closure on loose products.
- Window or crystal lids that reveal the product through a clear panel.
- Domed lids for a raised, sculptural look.
Match the closure to how often the tin is opened and whether the contents need protection from light, moisture, or handling. For edible products, specify a food-grade interior lining at this stage too, chosen to suit whether your product is dry, oily, or acidic. Structure and function are locked here, before any graphics go on.
Step 3: Set up print-ready artwork on the dieline
A tin is three-dimensional, so artwork is never a flat rectangle. Every shape and size has a dieline: a template mapping the lid, the body wrap, the seams, and the areas that curve out of view. Design on top of the dieline rather than guessing proportions, or your hero image may end up half-hidden around a curve. Keep these rules in mind:
- Vector where it counts: supply logos and type as vector (AI, EPS, or PDF) with fonts converted to outlines, so they stay sharp at any size.
- Colour: work in CMYK, and name a Pantone spot colour for any brand tone that must match exactly. Metal reflects light differently from paper, so screen colours are only a starting point.
- Resolution: place photographic images at 300 dpi at final size.
- Bleed: extend backgrounds at least 3 mm past every trim and fold edge so no bare metal shows after forming.
- Safe zone: keep logos, barcodes, and legal text clear of seams, the lid rim, and tight curves.
These are the same standards a printer applies to any custom printed tins project. If you only have a sketch or a flat logo, an in-house studio can build the file to the dieline for you.
Step 4: Choose your finishes
Finishes are where a good tin becomes a memorable one, and they are decided alongside the artwork because they affect how it is prepared. The main options are:
- Embossing and debossing to raise or recess a logo or pattern into the metal for a tactile effect.
- Matte or gloss varnish to set the overall mood, soft and premium or bright and vivid.
- Spot varnish to make one element, such as a logo, catch the light against a matte background.
- Metallic inks or leaving areas of bare tinplate so the steel shines through the design.
You do not have to use every effect. One well-placed embossing plus a considered varnish usually reads as more premium than a busy mix. Decide finishes before proofing, since some require their own tooling.
Step 5: Proof, then approve
Once files are ready, review a digital proof and, for colour-critical work, a physical sample on real metal. Check spelling, colour, placement, and how the artwork wraps across seams and curves. Approval is the point of no return: after sign-off, printing plates and forming tooling are committed. Take the time here to confirm the finish and the colour on metal rather than on a screen.
Step 6: Move to production
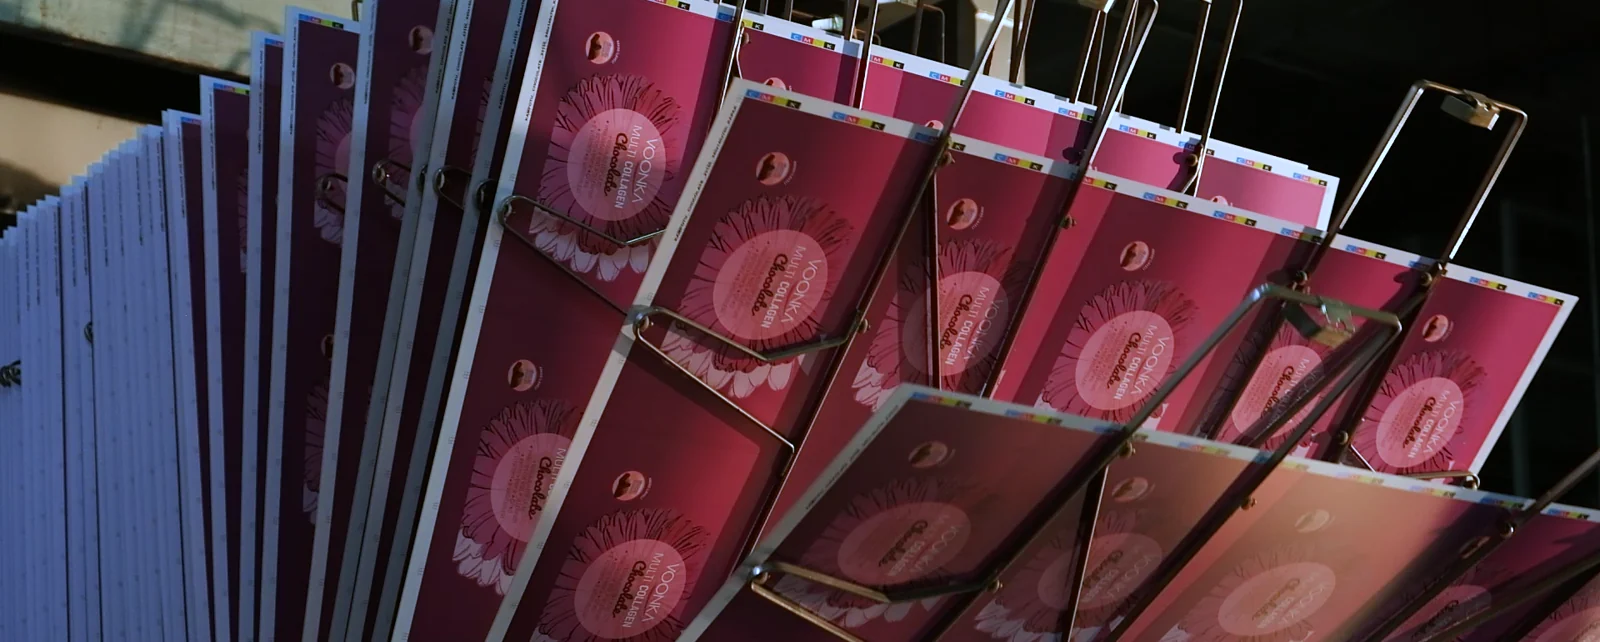
With the proof approved, the job goes to press: the artwork is offset-printed onto tinplate sheets, varnished and cured, then the metal is cut, formed, and assembled with the lid. A first custom run is typically several thousand pieces, which spreads the one-time setup across enough units to keep the per-tin cost sensible. When you are ready to begin, our how to order page sets out the full path from brief to delivery.
A quick design checklist
- Shape and size chosen to fit the product and the shelf.
- Lid and interior lining matched to how the tin is used.
- Artwork built on the correct dieline, in CMYK with Pantones named.
- 300 dpi images, 3 mm bleed, clear safe zone, nothing critical on a seam.
- Finishes selected before proofing.
- Digital and physical proof approved before tooling.
Have a product in mind but not a finished design? Send what you have and let the studio take it the rest of the way. Request a quote and a free sample to start your custom tin.
Aklınızda bir kutu mu var?
Şeklinizi, ebadınızı ve tasarımınızı bize iletin. Teklifinizi ve ücretsiz numunenizi gönderelim; saatler içinde yanıtlıyoruz.
Teklif Alın